
ISO value determines the light sensitivity of the camera sensors. ISO is expressed as a numerical value. ISO stands for International Organization for Standardization.
The camera sensors of DSLR devices need sufficient amounts of light to shoot properly. The light requirement depends on the ambient conditions. ISO qualifications of your camera depend on factors such as its sensor structure and image processor qualifications. When you take photos during night, you need to increase the ISO value because the ambient light will not be sufficient.
How to Change the ISO Value
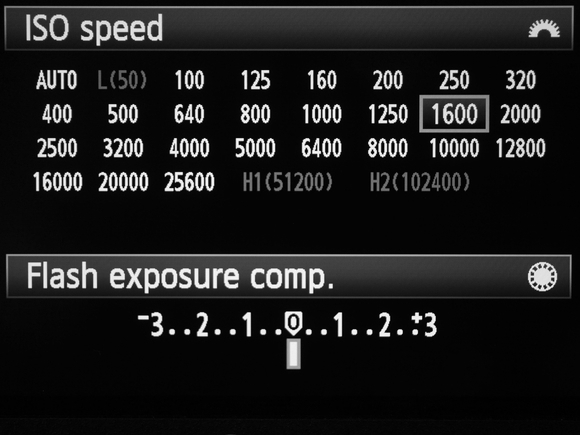
You can easily change ISO settings of your camera. In the past, while we were using films to take photos, we needed to change the film so that we can change the ISO value. Today, you can set the ISO value by pressing one button.
ISO settings may be different in different brands or models of cameras. ISO may start from 50 and may go up to around 102400.
If your setting are ISO 200, f/4 and 1/125s for one photograph and then you change the ISO to 400, you need to make your settings as ISO 400, f/4 and 1/250 if you want to have the same amount of exposure. If you make the ISO 2 times of its old value, you need to halve the exposure time.
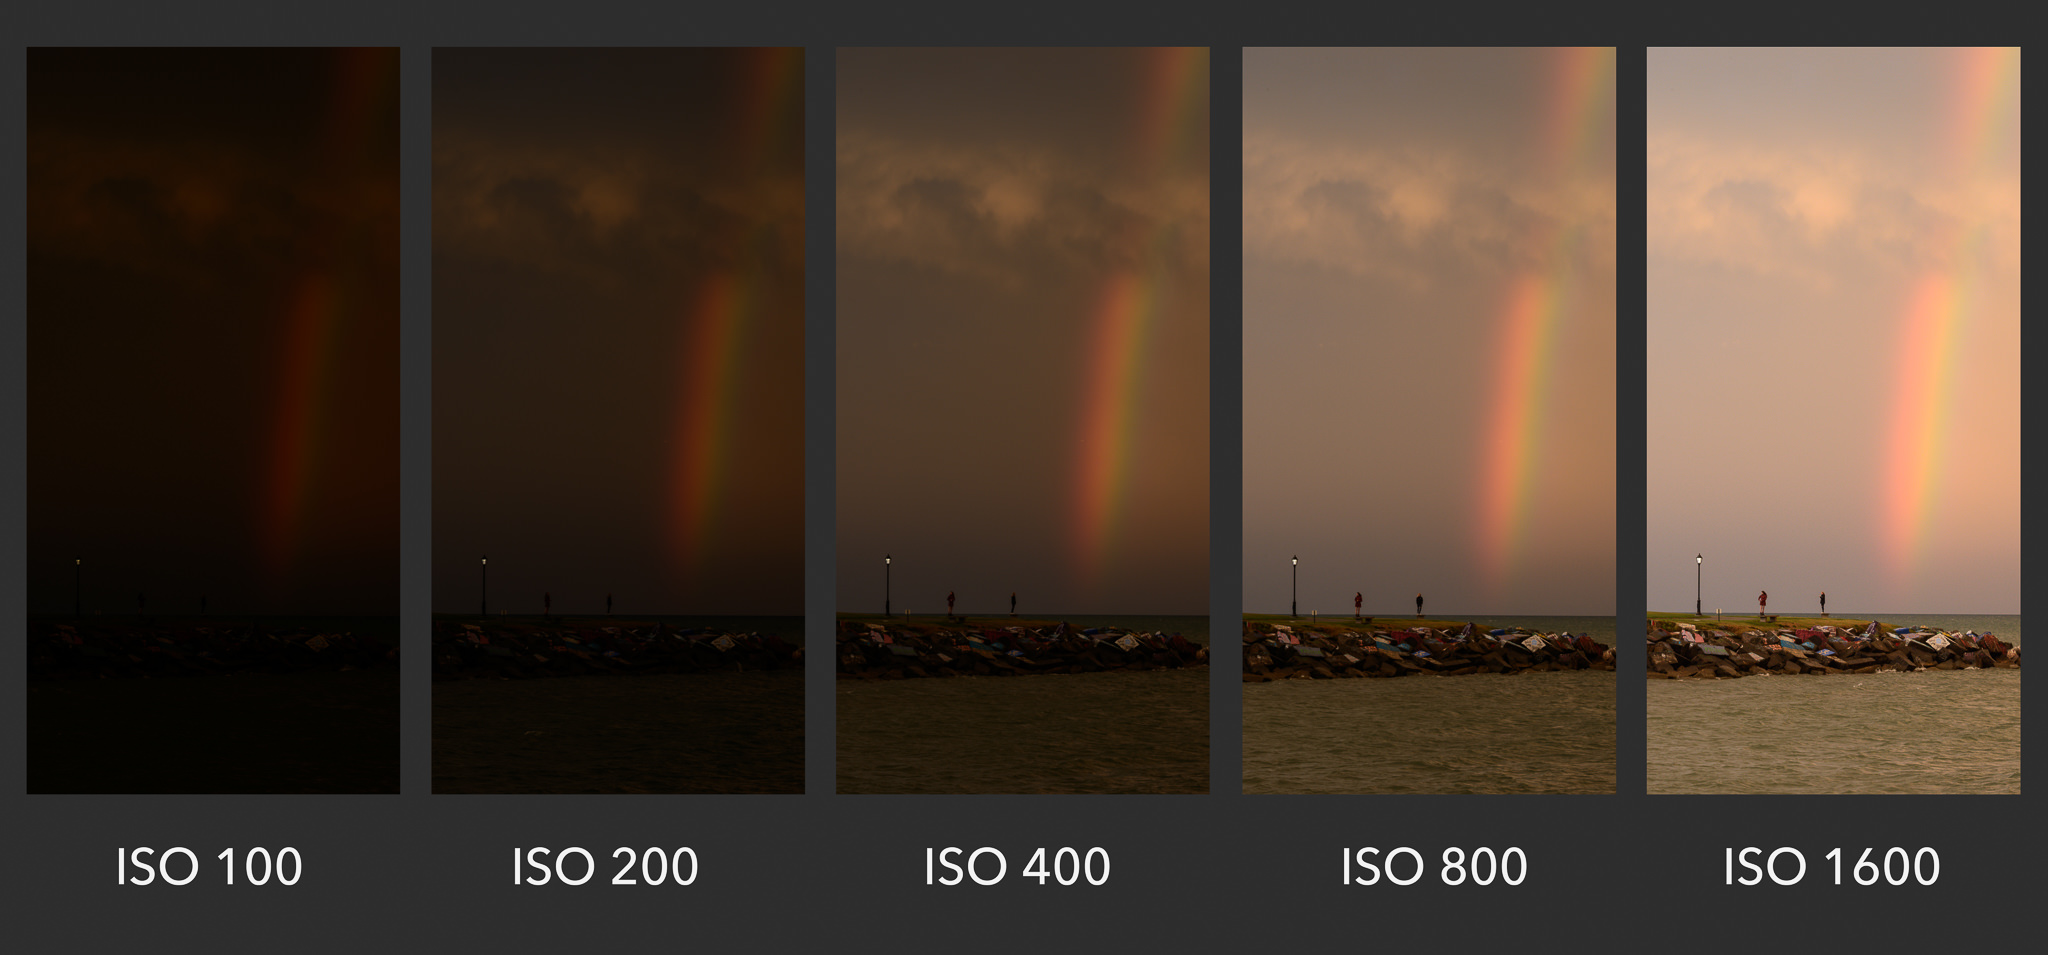
When you take a photo using low ISO values, you obtain a technically good photograph. When the ISO increases beyond 800, visual noise appears. Visual noise is undesirable. High ISO values also decrease the saturation.
Caution
In photography, unless there is a good reason, ISO value is kept as low as possible. For large prints of photos, low ISO use is especially important to prevent the end product from being grainy. Editors of digital platforms, on which you aim to sell photos, may reject your photos for being grainy.
Tips to Determine the Ideal ISO Value
- When you are manually setting the ISO value, you need to understand the ambient light requirement.
- When you use your device on manual setting, you should also set your shutter speed and lens aperture in accordance with the ISO value.
- 100 ISO is enough the take a photo under daylight. Again, you should also set shutter speed and lens aperture, accordingly.
- If the sunlight is filtered through clouds, the ideal ISO value may be between 200 and 400. Shutter speed and lens aperture should be set accordingly.
- If you need to work in an environment where using flash is necessary, you can use ISO values between 400 and 800.
- In most digital SLR devices, ISO values above 800 cause a degradation of image quality.
- If the environment has a low amount of light and using the flash is not allowed (e.g. in museums), you can use an ISO value around 1600.
- Sometimes you may want to take grainy photographs. If you want to produce grainy, black and white photos, you may choose to use high ISO values. The ISO value should be chosen by the photographer considering the aimed appearance.
- If you want to freeze time and catch a moving object as stationary, you should increase the shutter speed. This may necessitate that you increase the ISO value.
- If the ambient light is low, you should use higher ISO values. If it’s high, you should use lower ISO values.
- If you don’t want to increase the ISO value although the ambient light is low, you can decrease the shutter speed and use a tripod. However, in this condition, moving objects will be blurred.
- If you have artificial light equipment such as flashes, you may not need to use high ISO values.